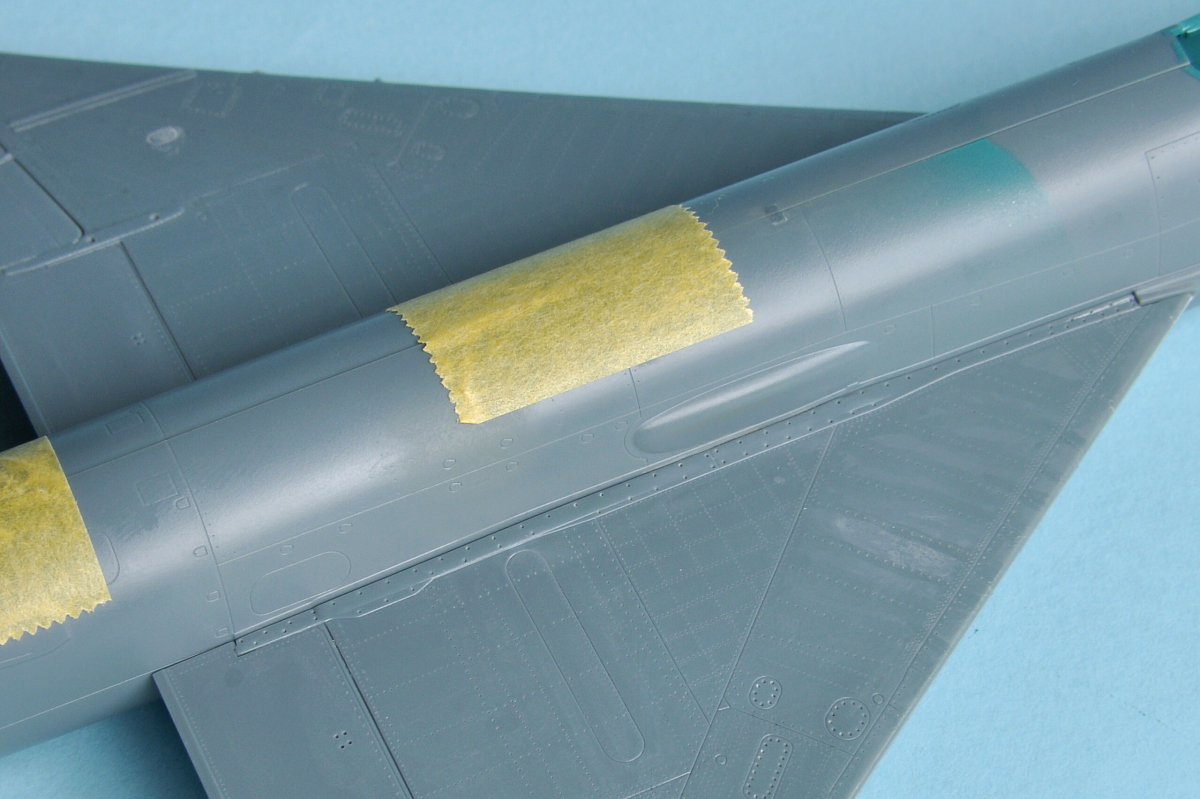
Mig-21M
Jugoslovansko vojno letalstvo, št. 805 - Yugoslav Air Force
Eduard 1:48


Rob kabine na obeh polovicah trupa
je preozek, še posebej če nameravamo namestiti tesnilni rob (PE2, PE3, PE7,
PE8).
 Rob kabine zato razširimo s tanko
plastiko.
Rob kabine zato razširimo s tanko
plastiko.


 Stene obeh polovic trupa na zadnjem
koncu v izpuhu so predebele. Zadnji rob izpuha stanjšamo kolikor je mogoče.
Stene obeh polovic trupa na zadnjem
koncu v izpuhu so predebele. Zadnji rob izpuha stanjšamo kolikor je mogoče.


 Ker je Eduardova maketa kasnejša
verzija Mig-a MF, mi pa delamo verzijo M, moramo drugi detajl takoj pod kabino
pomakniti na prvo servisno oplato.
Ker je Eduardova maketa kasnejša
verzija Mig-a MF, mi pa delamo verzijo M, moramo drugi detajl takoj pod kabino
pomakniti na prvo servisno oplato.


Konus pobarvamo z Revellovo barvo
SM363, kovinski okrov pa z Burnt Metal Metalizer (model Master). Vsi
jugoslovanski Mig-i verzije M in MF so imeli rumeno konico konusa.


Part H1 must be prepared now, because we're going to need it before the installation of the back wall of the cockpit.


Del H1 ima na vsaki strani dve
manjši servisni oplati za kateri bomo uporabili jedkane dele. Zato moramo
ležišči za ti oplati poglobiti.


Na desni strani repa (H2) pa moramo
na na njegovem osrednjem delu eno panelno linijo zakitati, ker je na tem mestu
ena sama oplata in ne dve.


 Pri vgrajevanju kabinskega dela,
zadnje stene kabine in sprednjega kolesnega prostora pa lahko nastopijo težave.
Pri vgrajevanju kabinskega dela,
zadnje stene kabine in sprednjega kolesnega prostora pa lahko nastopijo težave.


Če zadnjo steno (R9) spodaj odrežemo kot je označeno, se lahko zgodi da jo odrežemo 1mm preveč (rdeča puščica). Merilo kako visoko moramo zalepiti zadnjo steno, sta oba polkrožna izrastka na drugi strani stene, ki se morata ujemati z zgornjo krivino trupa.

 Ko namestimo katapultni sedež v
kabino, ugotovimo da je sedež za okoli 2mm prenizko. Zgornji del katapultnega
sedeža (naslonjalo za glavo) bi moral segati skoraj do vrha zadnje stene kabine.
Ko namestimo katapultni sedež v
kabino, ugotovimo da je sedež za okoli 2mm prenizko. Zgornji del katapultnega
sedeža (naslonjalo za glavo) bi moral segati skoraj do vrha zadnje stene kabine.
 Zato pod sedež nalepimo plastiko
ustrezne debeline, da bo višina sedeža prava.
Zato pod sedež nalepimo plastiko
ustrezne debeline, da bo višina sedeža prava.


Sledi vgradnja kolesnega prostora.
Po navodilih naj bi plošča kolesnega prostora sedla na dva izrastka na
kabinskem delu.
 Vendar nam mora biti vodilo ležišče
na obeh polovicah trupa, pa bo kolesni prostor na pravem mestu.
Vendar nam mora biti vodilo ležišče
na obeh polovicah trupa, pa bo kolesni prostor na pravem mestu.


Nasprotno si na zadnji strani lahko
privoščimo slabši stik na račun sprednjega stika, če že ne gre drugače.
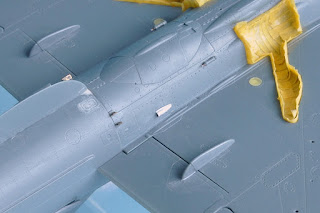
Sedaj lahko prilepimo grbo H1 in
sprednji servisni oplati (A3 in A17). Preden prilepimo oplato A17 jo je
potrebno pomeriti na trup skupaj z vetrobranskim steklom. Vsak del zase se
namreč odlično prilega na trup, če pa sta oba hkrati pane. Potrebno je malo
brušenja na oplati.


Na sprednjem koncu stika med oplato
A17 in trupom je prevelika reža, zato na notranji strani dodamo malo kita (glej
puščico).


6. SESTAVLJANJE TRUPA - Body
assembly
Pod sestavljanjem trupa razumemo
najprej kot vgradnjo posameznih sklopov v eno polovico trupa in nato spajanje
obeh polovic trupa (A1, A18)

Vsi deli ali sklopi potrebujejo pri
vgradnji malo prilagajanja (brušenja) in dodelav.
All parts need adjustments (grinding)
and modifications before assembly.
6.1. Priprava obeh polovic
trupa A1, A18 - Body preparations A1, A18
Ker bo pokrov kabine v odprtem
položaju, bo tudi varnostna kljuka za njegovo odpiranje izven ležišča in
obrnjena navzdol. Zato ležišče tik pod vetrobranskim steklom izdolbemo.
Because cockpit will be opened,
that means that security handle and it's opening will be outside of the locking
and turned downside. The locking right beneath the windshield must be carved
in.

The edge of the cockpit on the both
sides of the body is too thin, especially if we're planing to install the
sealing edge (PE2, PE3, PE7, PE8).

We must to widen the edge of cabin with
a thin plastic.


The walls on both sides of the body
(back of the exhaust V) are to thick. It's recommended to thin the edges as
much as possible.

Ker bomo na trup vgradili tudi
jedkane dele ki zahtevajo poglobitev v plastiko, to storimo že sedaj.
Because we're going to install PE
parts into the body, is recommended to deep'em down into the plastic right now.


The Eduards model is a late verison
of the Mig MF, we're making the version M, so we need to move the second detail
beneath the body on the first service plate.

6.2 Priprava nosnega konusa
(D80) - Preparation of the nose conus (D80)
Konico nosnega konusa izostrimo.
Stik dielektričnega dela konusa (zelene barve) in kovinskega okrova poglobimo z
gravirno iglo.
We must sharpen the edge of the
nose conus. A contact of dielectric part of the conus (green color) and a metal
housing must be deepend with and engraving needle.

We paint the conus with a revell
color SM363, the metal housing with a Burnt Metal Metalizer (Model master). All
yugoslavian MIG version M and MF had a yellow end of the conus.


6.3. Priprava grbe - hrbtnega
rezervoarja (H1) - Preparation of the back tank (H1)
Del H1 pripravimo že sedaj, ker ga
bomo potrebovali med vgradnjo zadnje stene kabine.
Part H1 must be prepared now, because we're going to need it before the installation of the back wall of the cockpit.

Spodnji rob na delu H1 posnamemo
(samo na zunanji strani) začenši od sprednje oplate kjer je elektronika pa do
konca rezervoarja.
Lower
edge on the part H1 must be cut off (only on the outside) from the first plate
where are the electronics, till the end of the tank.

Part
H1 has a service plate on the both sides, for wich we're going to install the
PA parts. We need to deepend the final position of this plates.


Zelo primerno orodje za dolbenje
ali tanjšanje plastike je kirurški skalpel št.15.
The
perfect tool for thickening and thining plastic is a surgeon scalpel No15.

6.4. Priprava repnih površin
(H2, H6) - Preparation of the tail surfaces (H2, H6)
Ker je Eduardova maketa kasnejša
verzija Mig-a MF moramo za verzijo M na levi strani repa (H6) vgravirati manjšo
servisno oplato, ki tudi ni točno na istem mestu.
Because
the Eduards model is a late version of MF, we must for M version install a smal
service plate, on the left side of the tail (H6) and on a little different
position.

On the
right side of the wing (H2) we are forced to fill the panel line with the putty,
because on this place must be only one plate instead of two.

6.5. Vgradnja - Instalation
Najprej vgradimo obe centralni
rebri (C3, C48), nato motor in zatem še nosni konus.
First
we must install both central ribs (C3,C48), then the engine and after that a
nose conus.


Pri nameščanju kabinskega dela v
trup nam mora biti kot merilo zgornji rob stranice kabinskega dela, ki mora
priti točno pod razširjeni rob kabine na trupu. Nadalje sta obe stranici kabinskega
dela pomaknjeni navzven (nista pravokotno na dno kabine) in ko namestimo
instrumentno ploščo nam na vsaki strani zeva 1mm široka špranja (zelena
puščica).
At
installation of canopy, back walls of the cockpit and front wheels room, we can
have some problems. At installation of the cockpit into the body, we must be
carefull that a top edge of one side of the cockipit fits right beneath the
thickened edge of the cockpit. Further, both side of the cockpit part must be
moved aside (not vertically on the bottom of the cockpit) and when we install
an instrument board, we have a 1mm wide gap on each side (see green arrow).

Ker je potrebno kar nekaj moči, da
stranici potisnemo proti instrumentni plošči, pred kabino nalepimo plastični
plošči ki bosta olajšali leplenje obeh polovic trupa.
Because
it's very hard to put together the sides to instrumnt board, we're forced to
glue some small styrene parts, wich they'll strentghen the gluing proccess of
the body.


Če zadnjo steno (R9) spodaj odrežemo kot je označeno, se lahko zgodi da jo odrežemo 1mm preveč (rdeča puščica). Merilo kako visoko moramo zalepiti zadnjo steno, sta oba polkrožna izrastka na drugi strani stene, ki se morata ujemati z zgornjo krivino trupa.
If
we cut the back wall (R9) like is marked, it may happen that we cut it 1mm to
much (red arrow). To help ourselves, how high we must glue the wall, we can
orientate with a half-circled plastic on the other side of the wall, wich they
must fith with an upper bound.

The
cockpit part and the back wall can be glued at the same time. For that we use
2-component glue, because it takes time for the right adjustment. When we're
sure that everything is in place, we glue the joints of the cockpit and the
back wall once again, so that everything holds together perfectly.

When
we install the cataput seat into the cockpit we can see that the seat is 2mm
too low. Upper part of the catapult seat (headrest) shoul reach the top of the
cockpit.

The
best solution for that is to glue the plastic beneath, to get the perfect
height of the seat.


Next
step is installing the wheels room. Instructions says that the board of the
wheels room should be glued on the two plastic bits on the cockpit part.

But
the bits should be on the both halves of the body in order to glue them on the
right place.

Sedaj lahko zlepimo obe polovici
trupa.
Now
we can glue together both sides of the body.


7. Spajanje trupa in sklopa B3 - drugič - Joining together the body on
B3 Section.
V tej fazi zlepimo celoten sklop B3
s trupom. Potrebno je paziti da je sprednji stik teh dveh sklopov čim lepši.
Pravo letalo na tem mestu nima nobene panelne linije, trup je povsem gladek, zato
moramo doseči, da bo či manj kitanja.
In
this phase we'll glue an entire part B3 with the body. When gluing together the
front joint, we must be carefull how we glue together this both sections. The
real plane doesn't have any panel line on this place, the body must be real
soft and polished so that we don't need to apply a lot of the putty.


On
the other side we can afford this on the back side if necessary.

Now
we can glue the hib H1 and front service plates (A3 and A17). Before we glue
A17, it's necessary to messure it with the body along with the windshield. Each
part fits perfectly on the body if both sides are together. The plates don't
require a lot of grinding.


On
the front end of the plate A17 and the body, there's a really big gap which we
need to fill with putty (Watch the arrow).