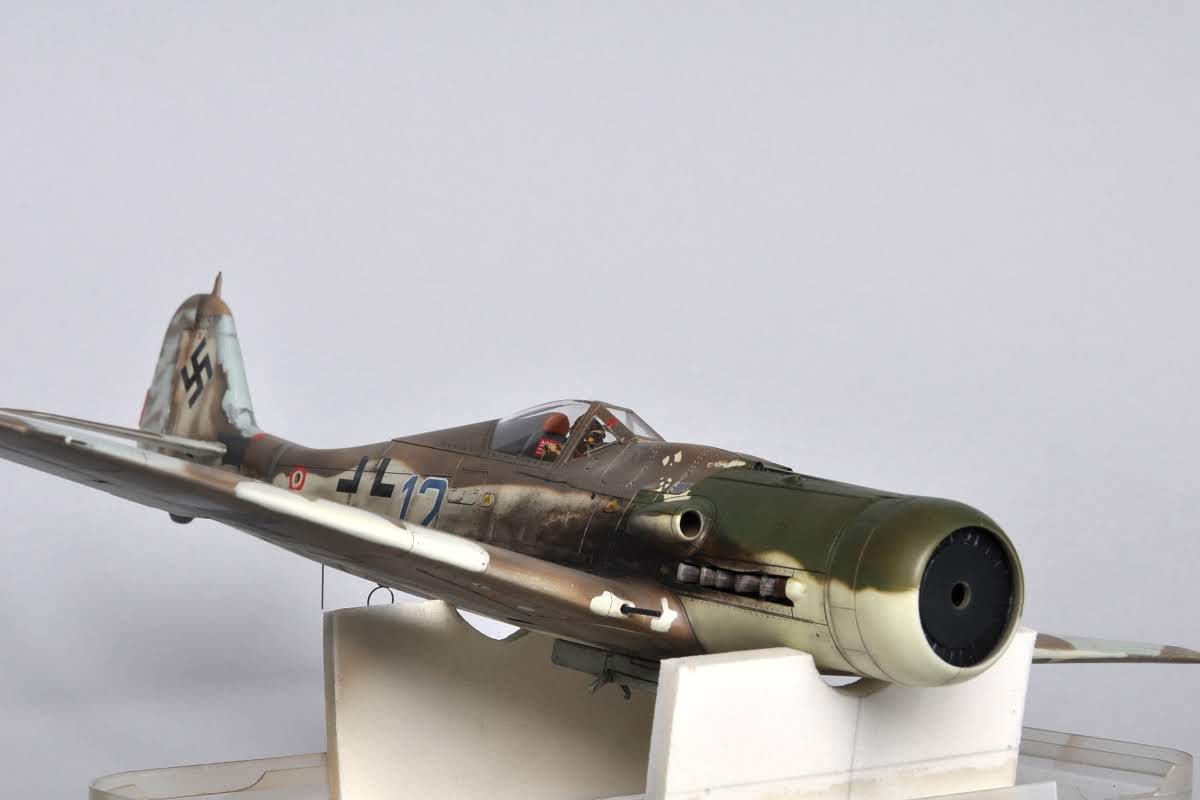
First, I coated the model with another layer of semi-gloss varnish before applying wash. I usually use wash just to accentuate the lines of service panel plates and their screws, but not the other panel lines, as they are visible enough and do not need to be accentuated further if the plane is relatively clean and well-kept. But as the Blue 12 was pretty beat-up and dirty, I used wash to accentuate all panel lines as well as some rivets. I used Mig Panel Liners – black, grey and brown.


I continued with oil paints in all the places where the paint is supposed to have faded. Even as I was painting the model with camouflage colors, I would apply a little more layers here, a little less layers there in order to achieve a shading effect. Oil paints were then applied to enrich and accentuate the faded paint. I used Mig oilbrushes, mostly the white one for RLM-76 and dust for RLM-81.


In some of the photographs of the actual plane, there are a few details that the author of the color profiles left out. First, the stains on the cross on the left side of the fuselage. I believe that the stain on top marked with a red arrow is red paint. The bottom stain marked with brown is probably mud – the Blue 12 was covered in mud.


It also had stains on the undercarriage doors and on the bottom motor cowling, as seen on the previously published references photographs.

I then coated the model with semi-matt varnish and continued the weathering with pigments. Another characteristic of the Blue 12 was that the right side of the fuselage was dirtier than the left (probably due to the spinning direction of the propeller). I used a flat paintbrush and a paper shading and blending stick to apply the pigments. I bought a set that also included rolled paper pencils for detailing (which can also be used to draw while removing the previously applied pigment) and a kneadable eraser that can be shaped, allowing detailed work or the removal of dirty spots.


For the dirt from exhaust fumes on the fuselage, I used a black acrylic pigment that is added to façade paint. It is an extremely fine pigment, very adhesive, a little brownish and softer than the pigments used in model building. In a few spots, I also used a black oil paint. The motor cowling received very little pastel shading (olive green). In the end, I applied the mud stains using an oil paint. I coated the model with semi-matt and the motor cowling with the semi-gloss varnish.


XII. OTHER DETAILS
Initially, I was planning on using Eduard’s plastic machine guns, but I changed my mind and bought metal ones from Master instead.


I made the tail navigation light from a transparent sprue.

The navigation lights on the wings were tear-shaped. I used Tornado lights from a Revell model. They needed some sanding, but they were finished much sooner than if I had made them myself from scratch.
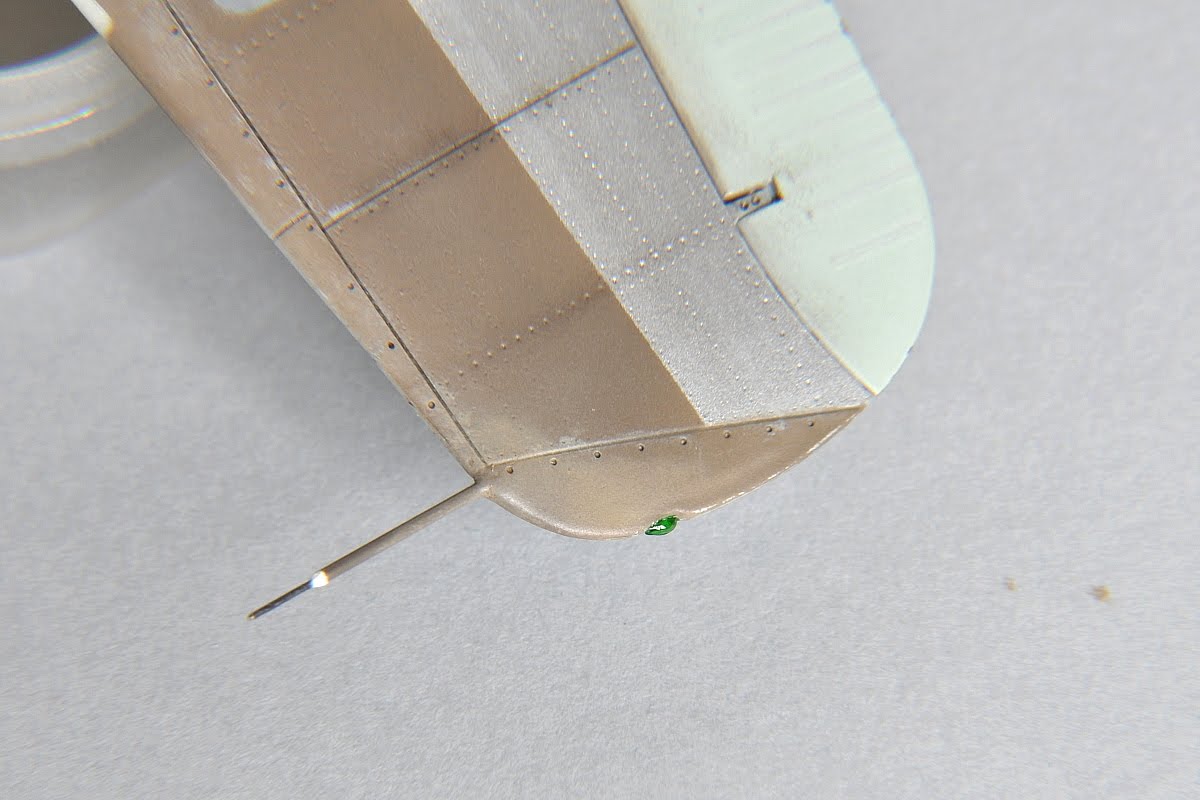

The FuG25 aerial was made from copper wire and flattened out – this aerial was not completely round. The FuG16ZY aerial was made from aluminum sheet metal.


The FuG16ZY aerial was made from thin plastic and copper wire. Eduard did produce a PE part for this aerial, but the aerial mast should be thicker and the aerial itself longer.


I will put some mud on the aerials to make them look dirty. I used white glue to “glaze” the opening for the camera on the left wing.

A few comparisons:


A few additional photographs: